How To Do Nail String Art
Diy Nail String Art Tutorial Youtube

Diy String Art Tutorial 10 Steps With Pictures
:max_bytes(150000):strip_icc()/string_art_tutorial-3--56a491f13df78cf77283054a.JPG)
String Art Step By Step Tutorial

Hammer the nails or pins into your surface.
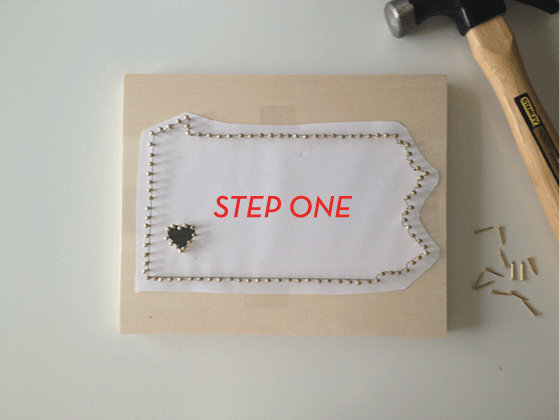
How to do nail string art. For the state of california. Choose how youre going to transfer your design. If possible have 2 sheets of your pattern ready. Ive been seeing tons of string art popping up all over the web and decided to try my hand at a piece of my own.
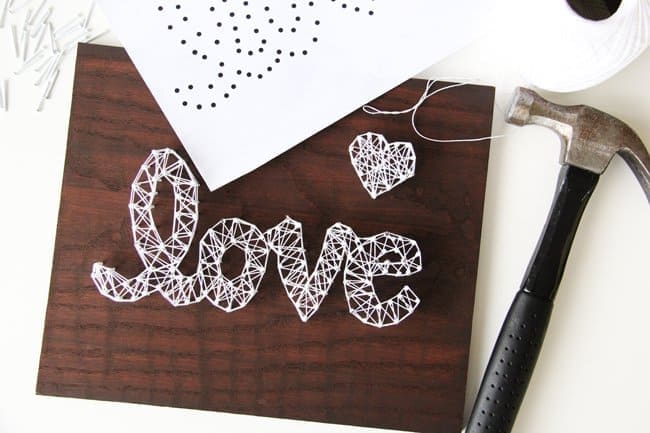
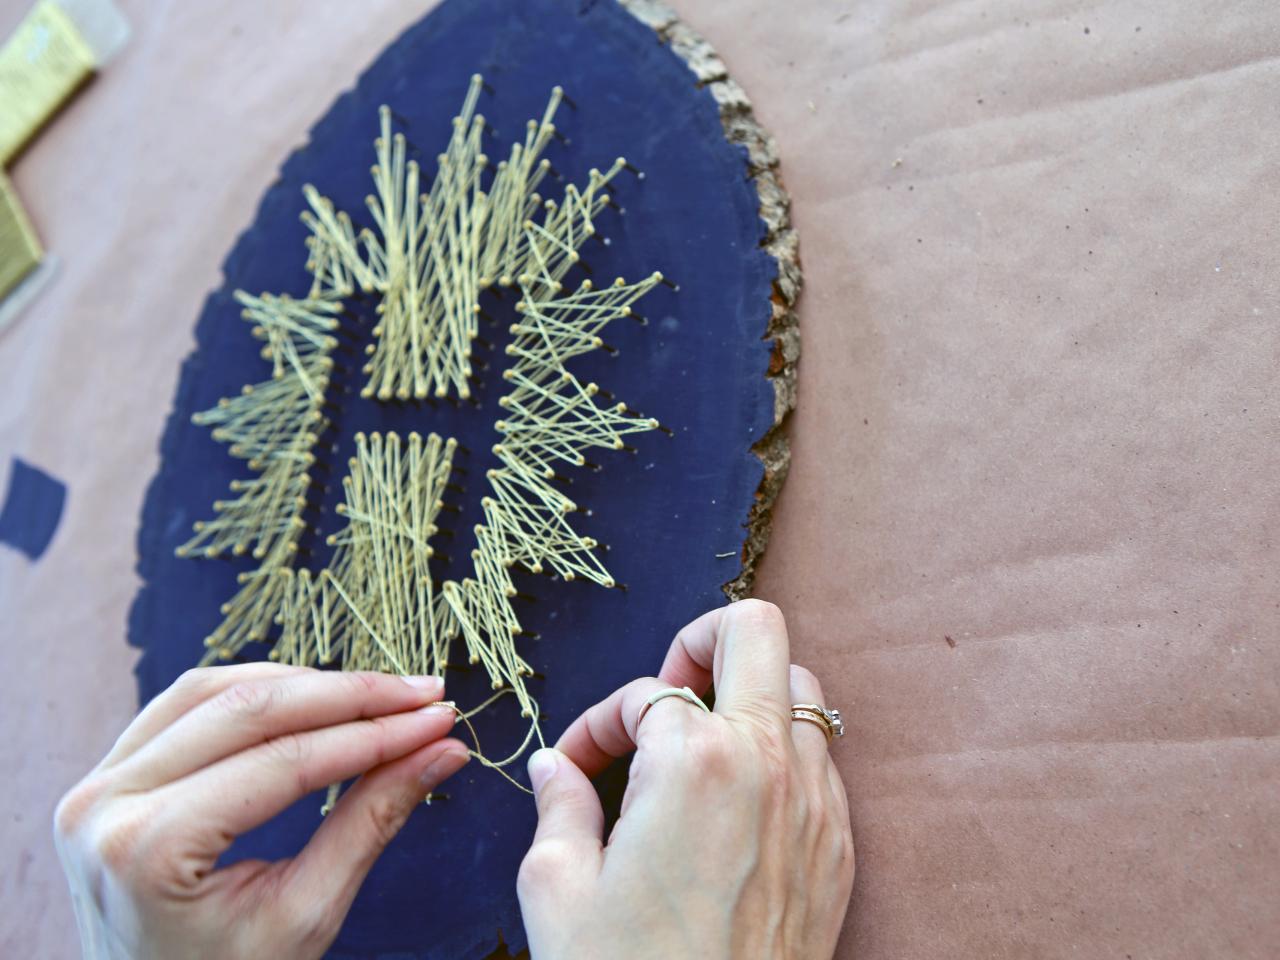
Unwrap your string and find the end. Now onto our home state. Tie a string to start your design and then simply wrap around each nail. Place on your design.
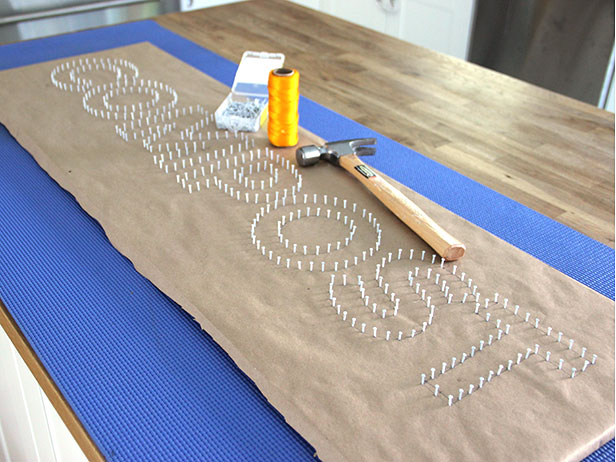
Figure out what color of string art you want to use and tie a knot around a string. Diy string art tutorial. Tape your pattern onto your prepared board and hammer the nails into each dot. Once the nails are all hammered in i remove the paper at this point because its.
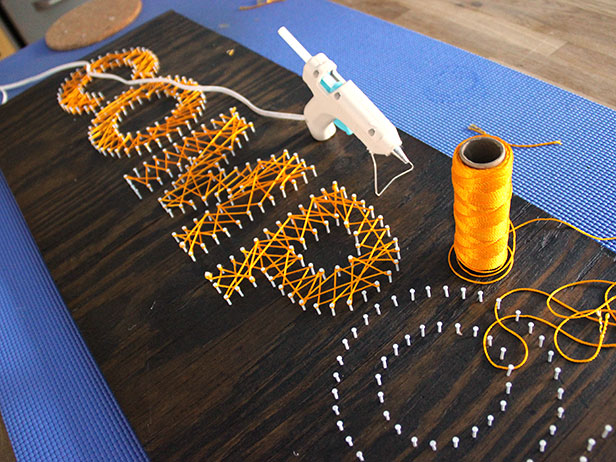
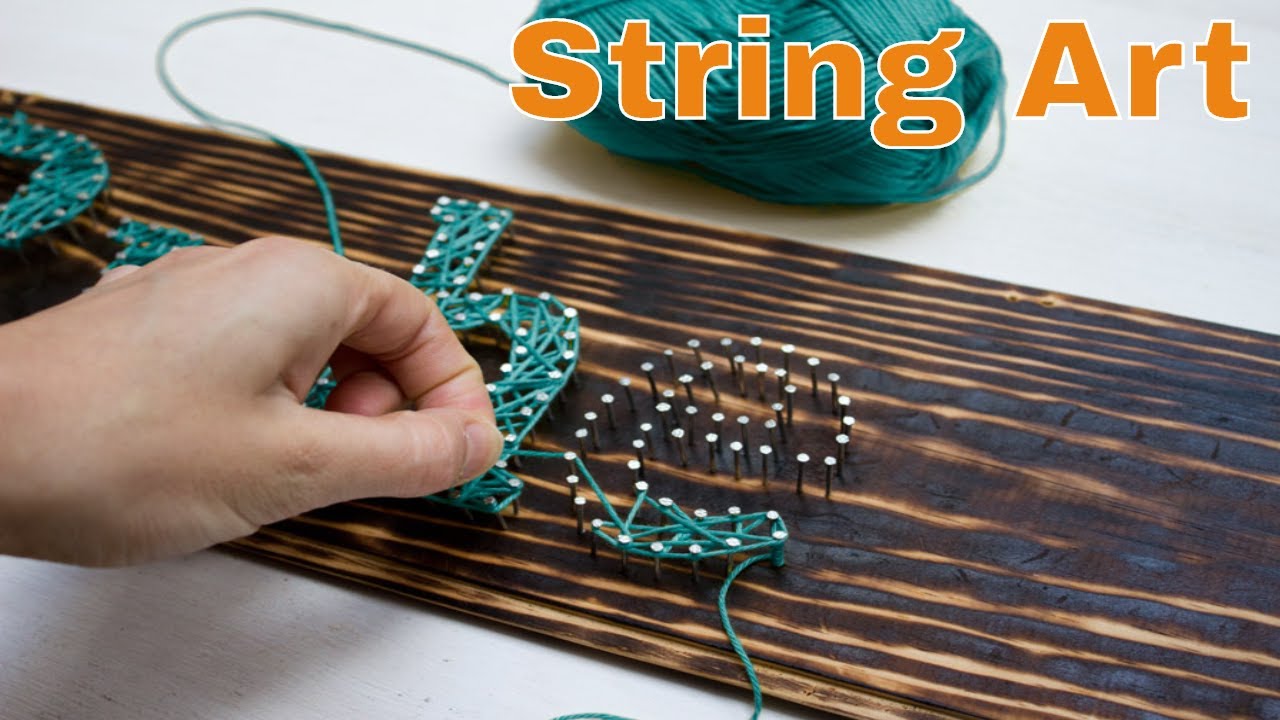
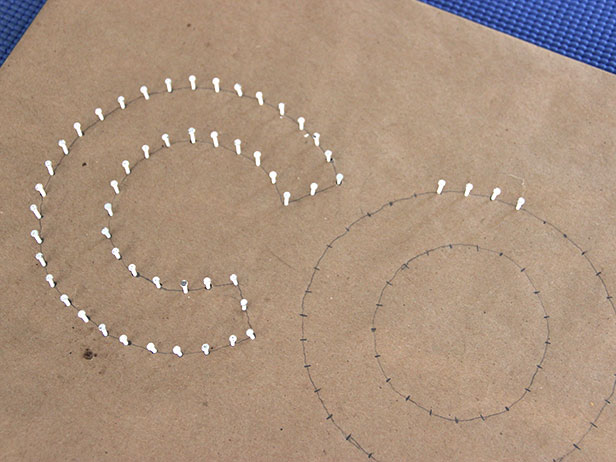
String art step by step tutorial step 1. Hammer nails along the outline of your shape. How to do string art choose the materials you want to work with. If you are outlining in a different color i would suggest doing the outline last to make it pop.
You can use a zig zag pattern stripes or go all over and create a sort of linear spirograph pattern. Outline the shape with nails. Gather materials and locate an image. Prep your board if necessary.
You can do criss cross first and then outlineor outline first and then do criss cross. I really didnt want to mess with hammers and cutting wood and all that though so i used cork board instead. Tips tricks for making your string art projects. Remove the paper pattern or stencil.
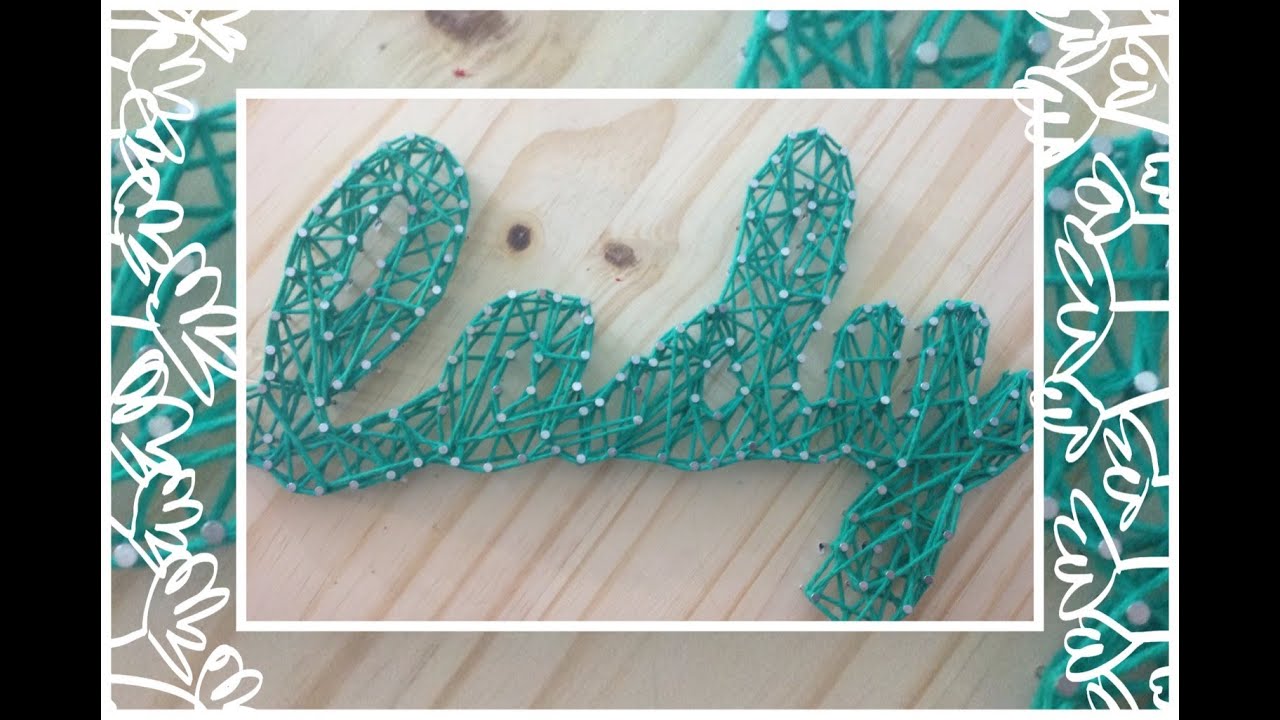
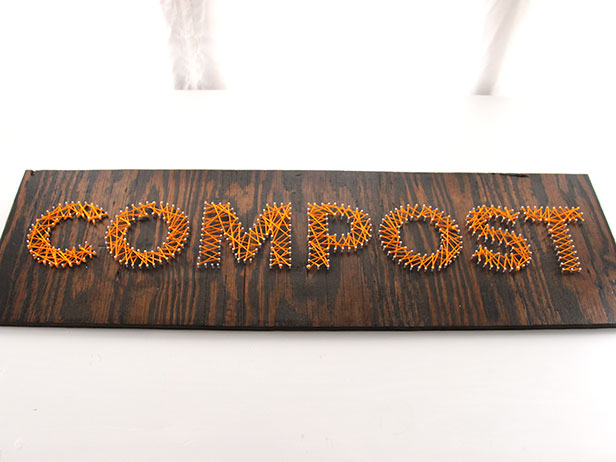
How to make nail string art make a customized name word picture or state with nails and some thread super easy and cute. Outline the shape with string. My system was to tie off the first nail string every third nail or so work my way back around a few times to catch all the gaps and give it a slightly erratic look and then add a tiny dab of hot glue where i tied off the string on the last nail of each letter. One to tape onto the board.
How To Make Your Own String Art Diy Network Blog Made Remade Diy
Diy String Art Diy String Art Tutorial String Art Letters
How To Make Your Own String Art Diy Network Blog Made Remade Diy

Semi Diy State Nail And String Art Semi Diy

String Art Two States Google Search Gifts To Make Or Give
String Art Tips And Tricks A Pretty Life In The Suburbs
How To Make Your Own String Art Diy Network Blog Made Remade Diy

Diy String Art Tutorial 10 Steps With Pictures

3 Easy Ways To Do String Art Wikihow

Love The String Art Trend Check Out How To Make Your Own Like This

Batman String Nail Art A Turtle S Life For Me

Diy Easy Nail String Art Heidi Hellings Youtube

Semi Diy State Nail And String Art Semi Diy
How To Make Your Own String Art Diy Network Blog Made Remade Diy

Diy String Art Tutorial How To Make String Art Patterns For States

Semi Diy State Nail And String Art Semi Diy

How To Make String Art Westfarthing Woodworks

How To Make Your Own String Art Diy Projects Craft Ideas How To S

How To Make State String Art Snapguide

3 Easy Ways To Do String Art Wikihow

String Nail Art Patterns Pinterest Best Decoration String Art
Make Your Own Monogrammed String Art Hgtv
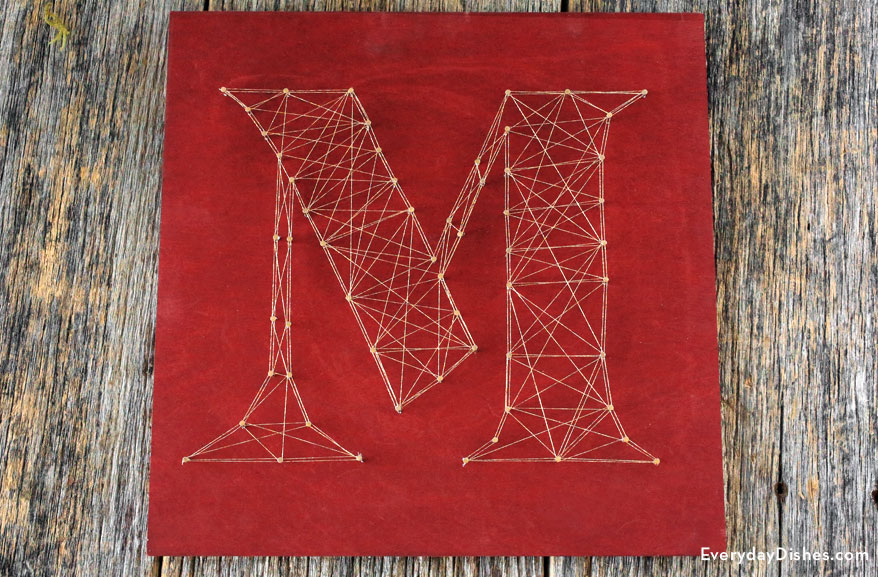
How To Make String Art Letters
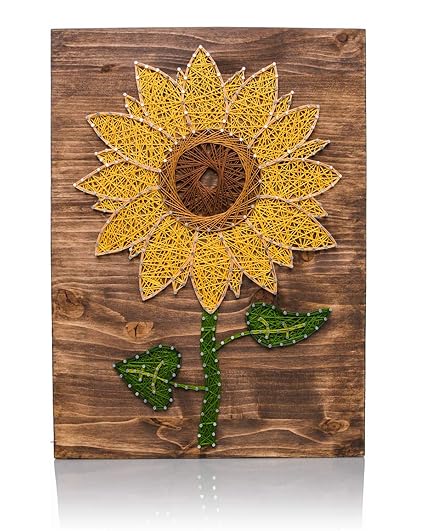
Amazon Com String Art Kit Sunflower String Art Arts And Crafts

15 Ideas To Make String Arts Diy String Art Patterns Nail

String Art Feather How To Make String Art Decorating On Cut Out