How To Marble Nail Art
Top 10 Water Marble Nail Art Design Tutorials Pictures For 2019
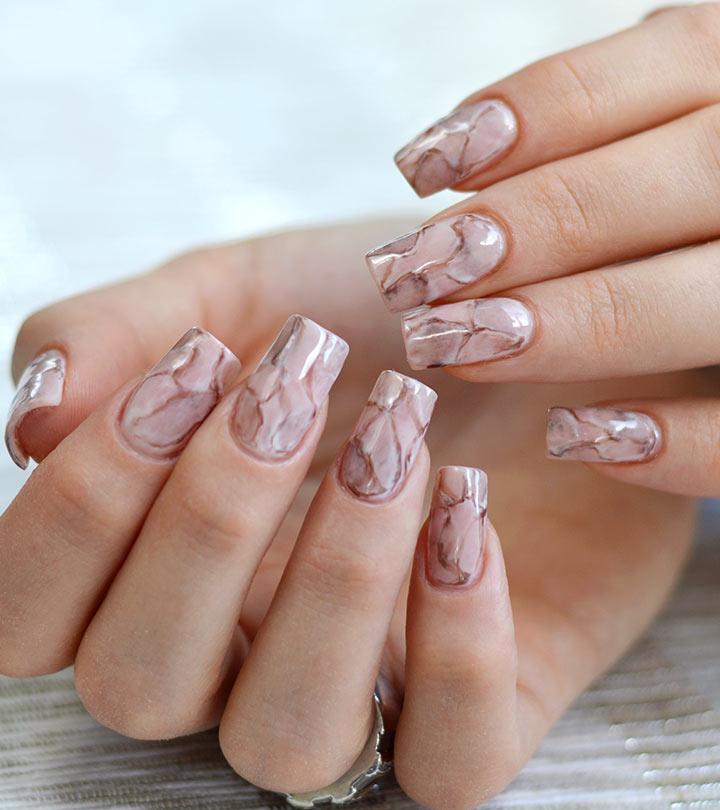
Stone Marble Nail Art Can Be Done In 3 Different Ways Pick Your

How To Do Marble Nail Art Fashionista

These video tutorials will help you get the gorgeous nail design.
How to marble nail art. Place the toothpick on the water in that ring and drag the toothpick inwards towards the center of the bulls eye. Add tiny dots of the first color you put on your nails on top of the previous dots. First off apply a thin layer of base coat to protect your nail. So you can imagine how fun stone marble nail art can be.
Paint your nails with the white nail varnish. Dot on the color you would like to appear as the marble on top. Dont make the dots too big so the whole thing can dry faster. I recommend 2 coats.
Next paint on your base color. Spray with fast drying spray if you want. How to do it. Put sticky tape around your skin and cuticles.
Using a detail brush swirl around the colors into an. The secret to diy marble nail art is something you probably have in your kitchen. Paint your nails with a clear base coat. Drip one color onto the water.
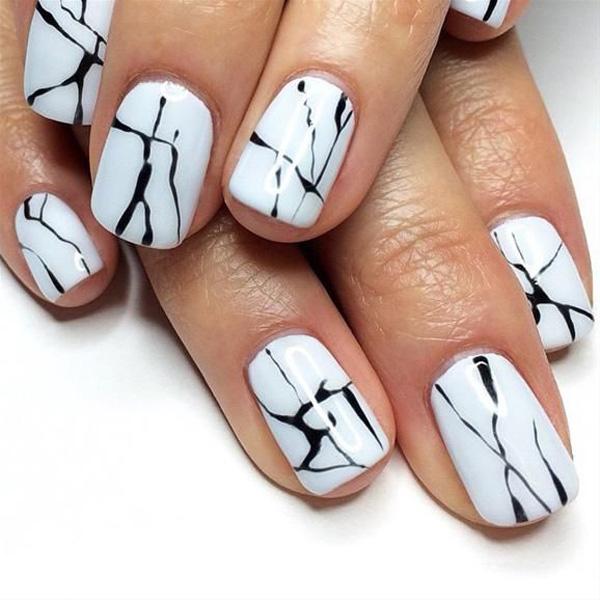
Continue that way to draw your designspatterns. Marbling nail art basically refers to designs of two or more color themes that are swirly and give a similar effect to that of a fancy marble or candy achieved with water and some basic nail art toolsmarbling designs are extra bright and colorful and great for spring and summer season. Instead start drawing your design a few rings in towards the center from about the 3rd ring out. Steps to make water marble nails art.
Marble nail art is still one of the most sought after fancy manicures out there. Add a drop or two of color on your nail with your nail polish colors. How to create a marble nail effect using water part 1 preparing the marbled water apply a base coat to your nails. Be sure that the tape dosent touch.
Fill the cup with room temperature water. Genius beauty hack alert. Choose a small cup. Make it a little bit thicker than you normally paint it on.
Besides it being absolutely gorgeous and luxurious the best thing about marble is that its completely random.

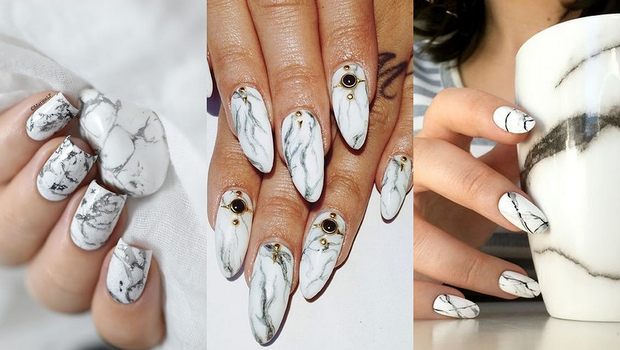
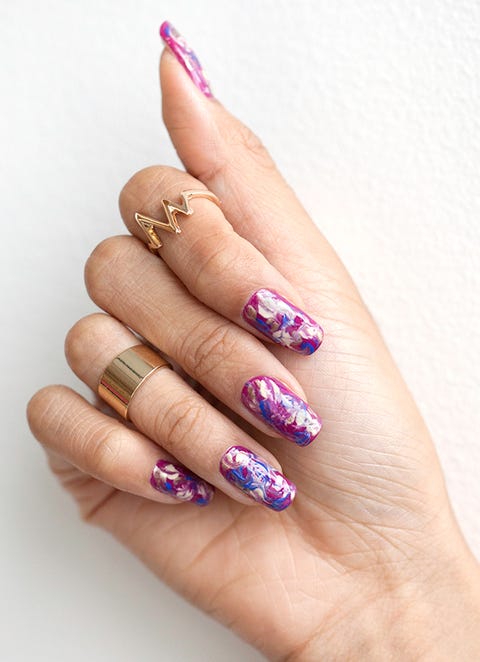
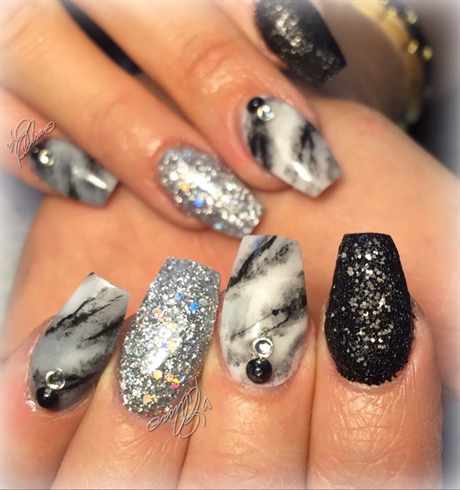
33 Hottest Marble Nails Ideas Marble Nails Marble Nails Marble
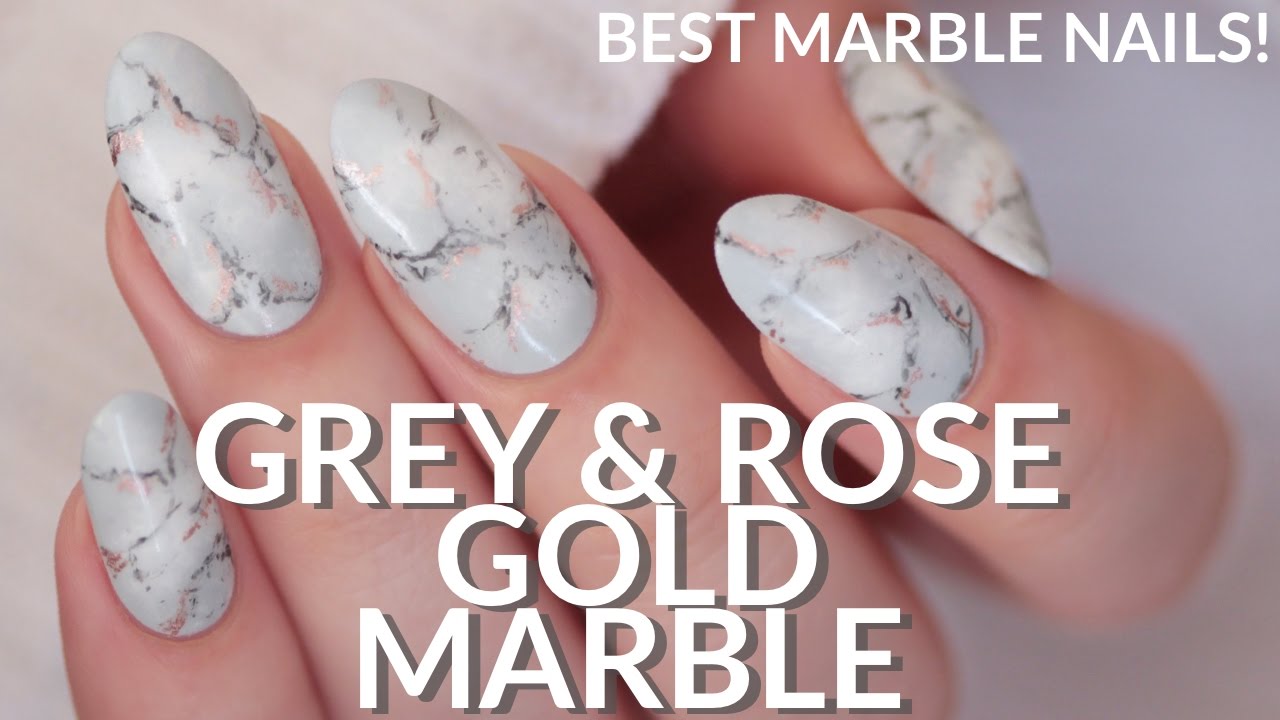
Easiest Realistic Marble Nails Grey Rose Gold Easy Nail Art

Stone Marble Nail Art Can Be Done In 3 Different Ways Pick Your

Stone Marble Nail Art Can Be Done In 3 Different Ways Pick Your

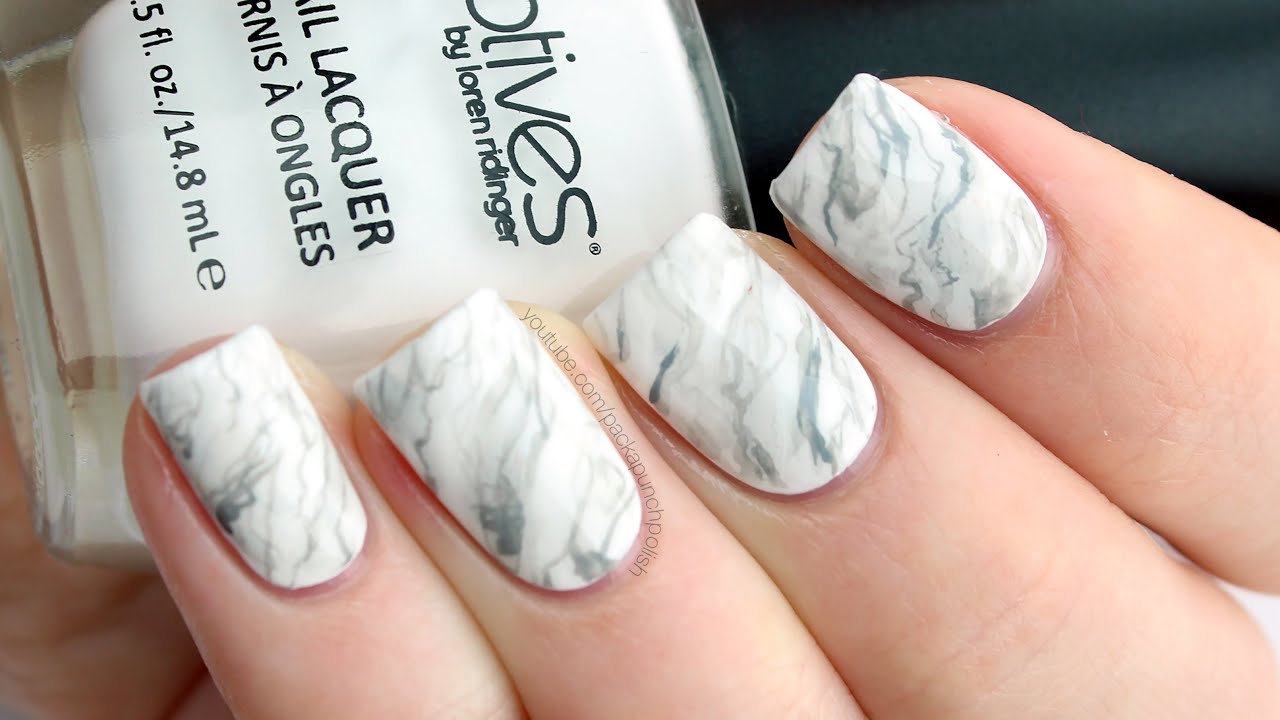
Marble Nail Art White Marble Nails Sonailicious

People Are Using Sharpie Pens To Create The Most Amazing Marble Nail

Amazon Com 10pcs White Black Gradient Marble Nail Art Sticker Water

Marble Nail Art Using A Stamper Diy
Stone Marble Nail Art Can Be Done In 3 Different Ways Pick Your
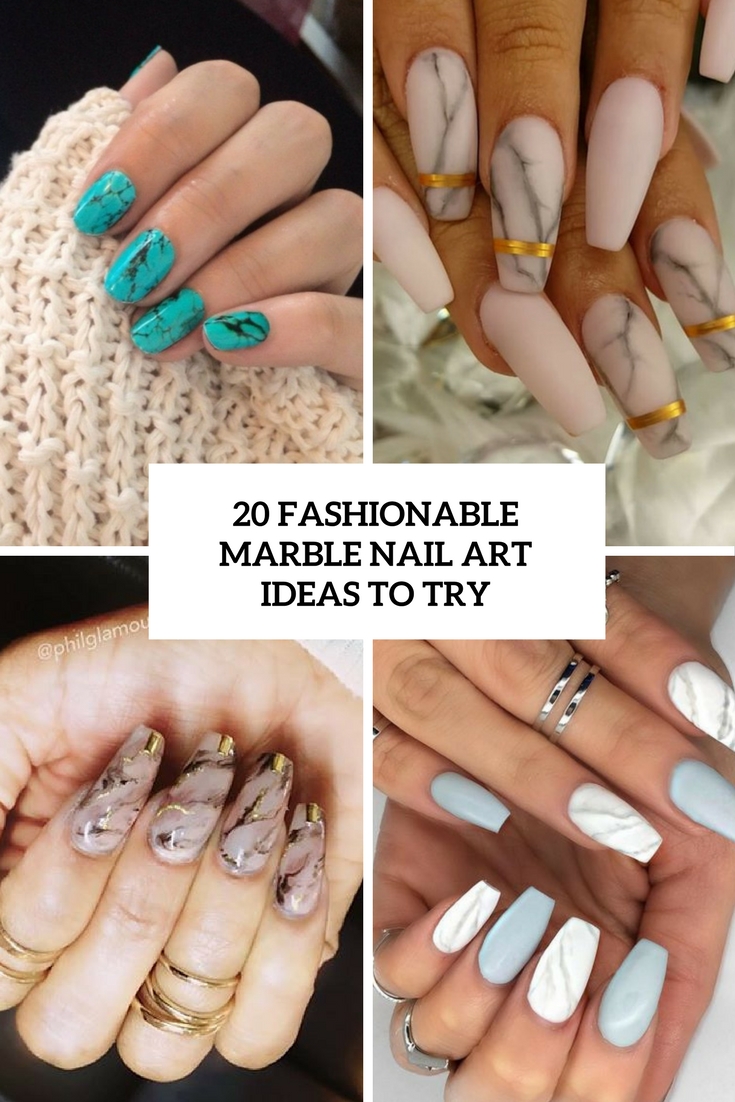
20 Fashionable Marble Nail Art Ideas To Try Styleoholic
Nail Art How To Marble Manicure

Mani Monday Marble Nail Art Talonted Lex
Marble Nail Art Nail Art Gallery
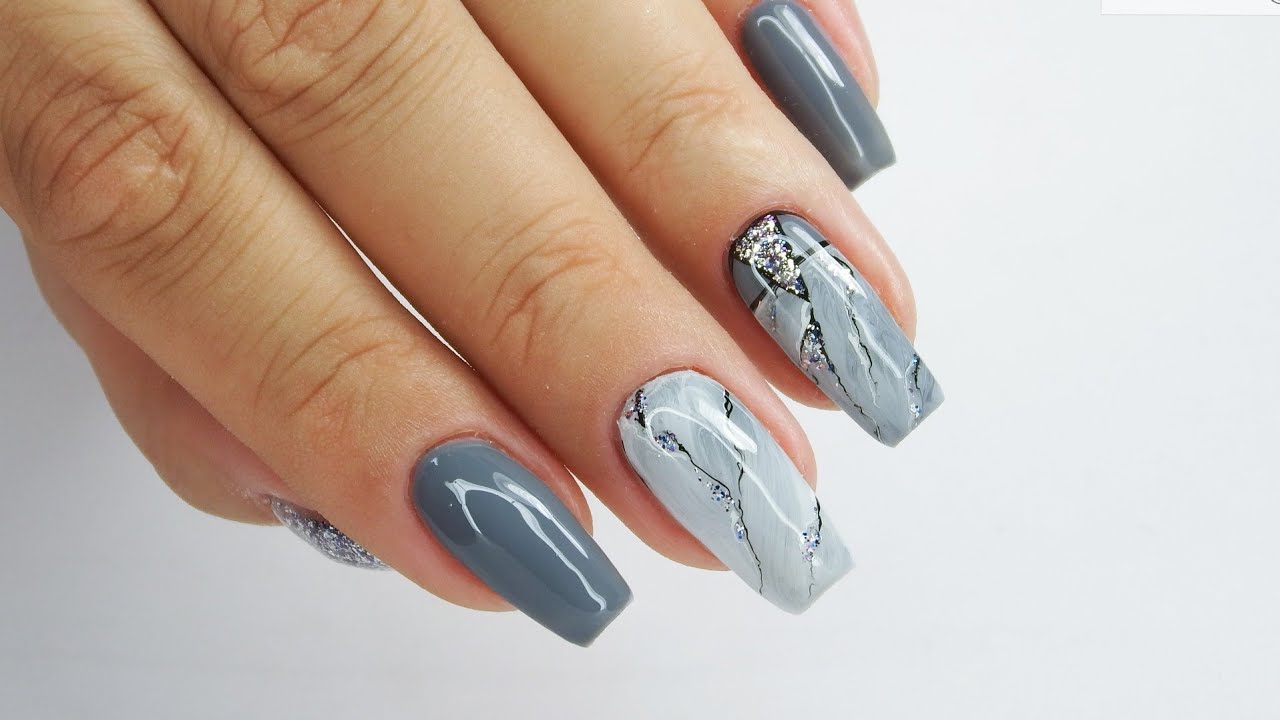
Grey Marble Nails Art Stardoro Youtube

Stone Marble Nail Art Can Be Done In 3 Different Ways Pick Your

How To Do Marble Nails Like A Pro Tutorial

Marble Nail Art

Rose Gold Marble Nail Art Nails Rose Nail Art Marble Nail

Marble Nail Art Tutorial

24 Chic Marble Nail Art Design That Hot Right Now Hair And Beauty

Marble Nail Art Manicure Acrylic Design Idea Designs Blog Nailsstock

Stone Marble Nail Art Youtube

Mani Monday Marble Nails Tutorial Nail That Accent
35 Water Marble Nail Art Designs Art And Design

Nails Ideas Marble Nail Art Diy Marble Nail Art Gel

10 Perfect Marble Nail Art Elegant Look On Nails Gazzed Nailsstock

